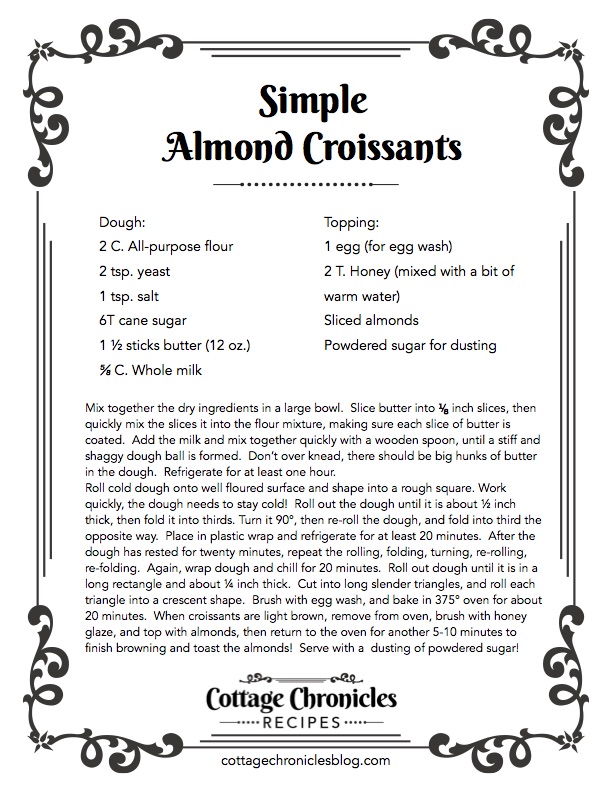
I love croissants. No matter when they are eaten, they feel like a special treat. But “real” croissant recipes can take up to three days to complete! Yikes! (Printable recipe at the bottom.)
Now, I do love doing things the traditional way sometimes, but also sometimes I need a croissant much sooner. Like in two hours. For breakfast. I served these on a Sunday, before church, baby!
Relate Post: Orange and Nutmeg Morning Buns with Croissant Dough
Three days is to long to wait!
As you may know, the delightful texture of the croissant comes from the very thin layers of cold butter between the very thing layers of dough.
In a traditional recipe, this would start with big sections of butter, with lots of folding and lots of resting and the some more resting. All this does indeed make a wonderful pastry, but I took shortcuts and this time it paid off!
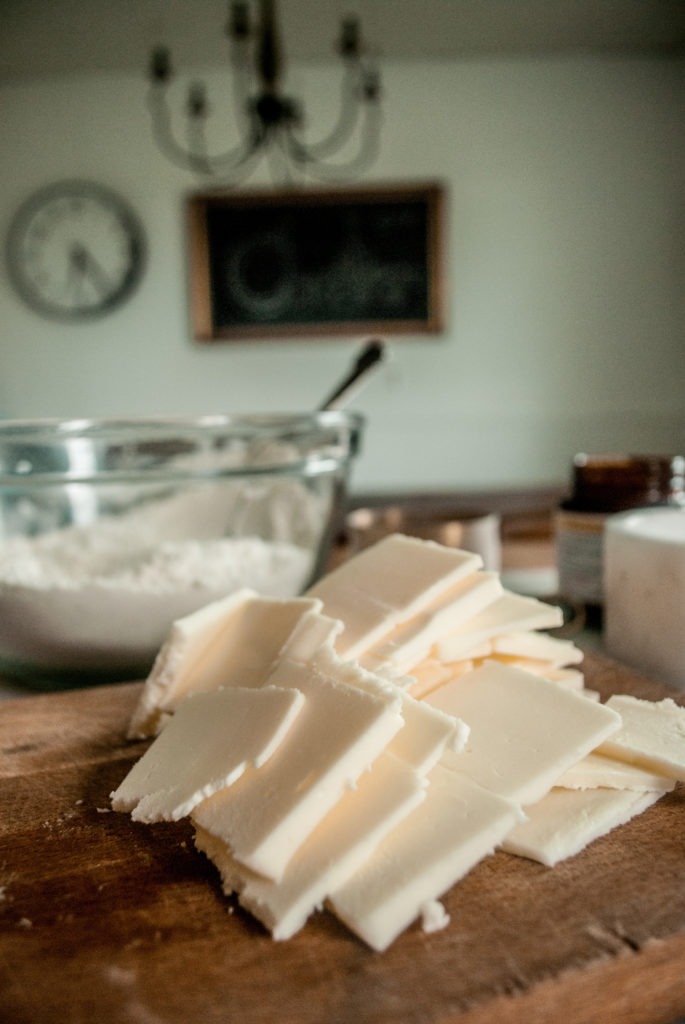
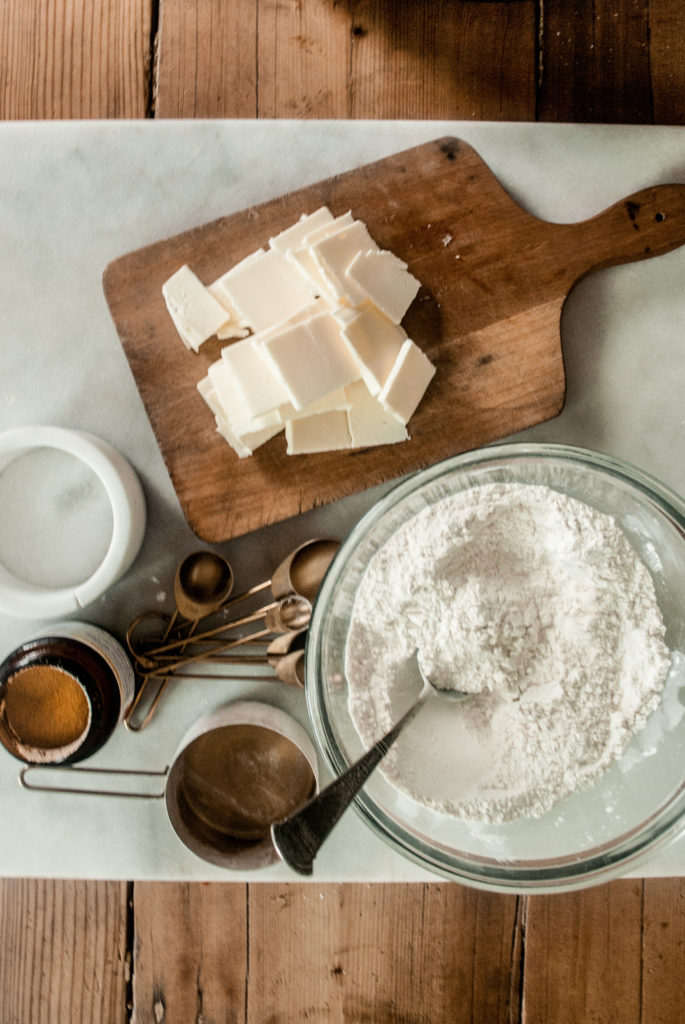
Slice that butter!
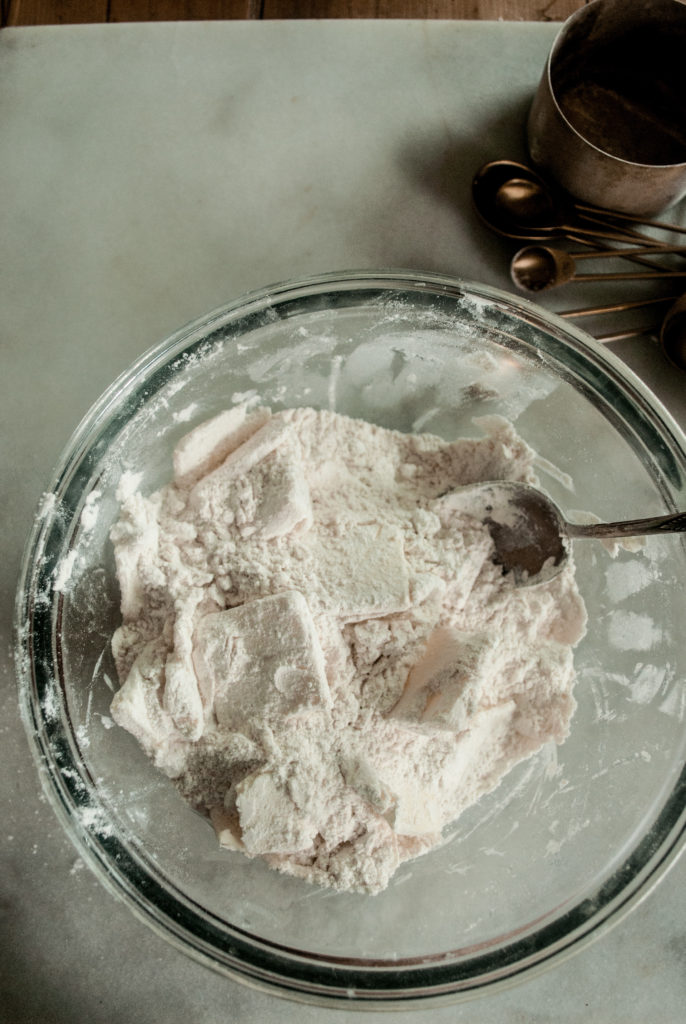
Slicing the butter is the shortcut to getting instant layers of butter in your dough. It works remarkably well, and though the layers in this dough may not be so well organized in proper levels as they would be in a more traditional dough, they work! I add the butter to the dry ingredients and make sure that each piece is well coated.
Keep it Cold!
Of course, they key to a flaky, and airy light pastry is to keep the butter cold! Use cold butter from the fridge, incorporate it quickly, and make sure the heat from your hands doesn’t melt it! Use very cold milk as you mix up the dough, too, and only mix it until it holds together. There’s no need to knead! As soon as the dough comes together, let it chill for a full hour.
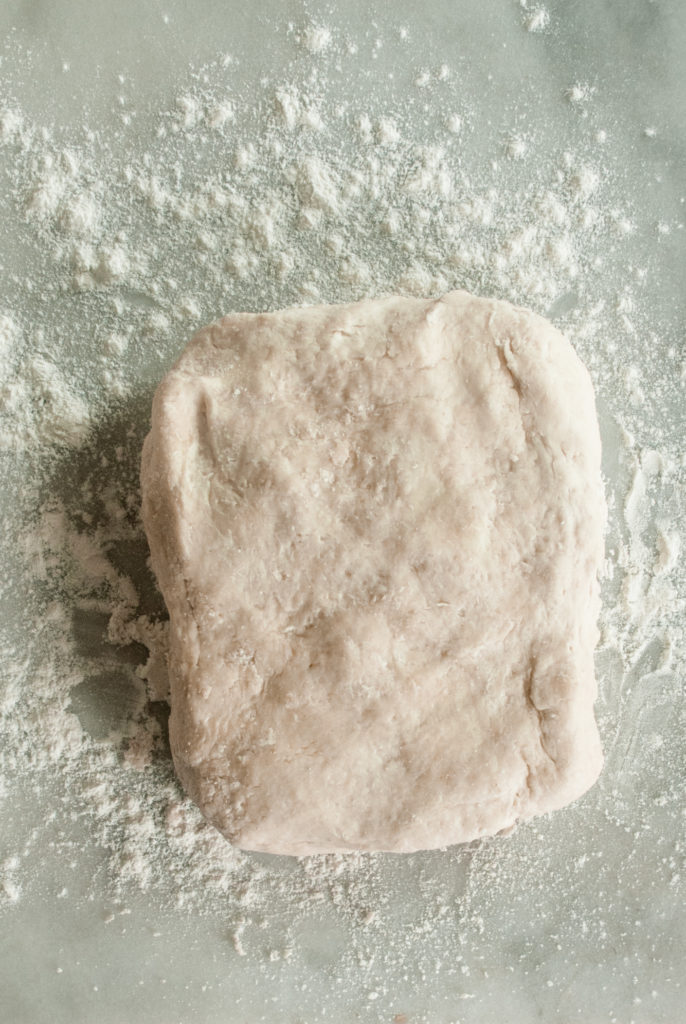
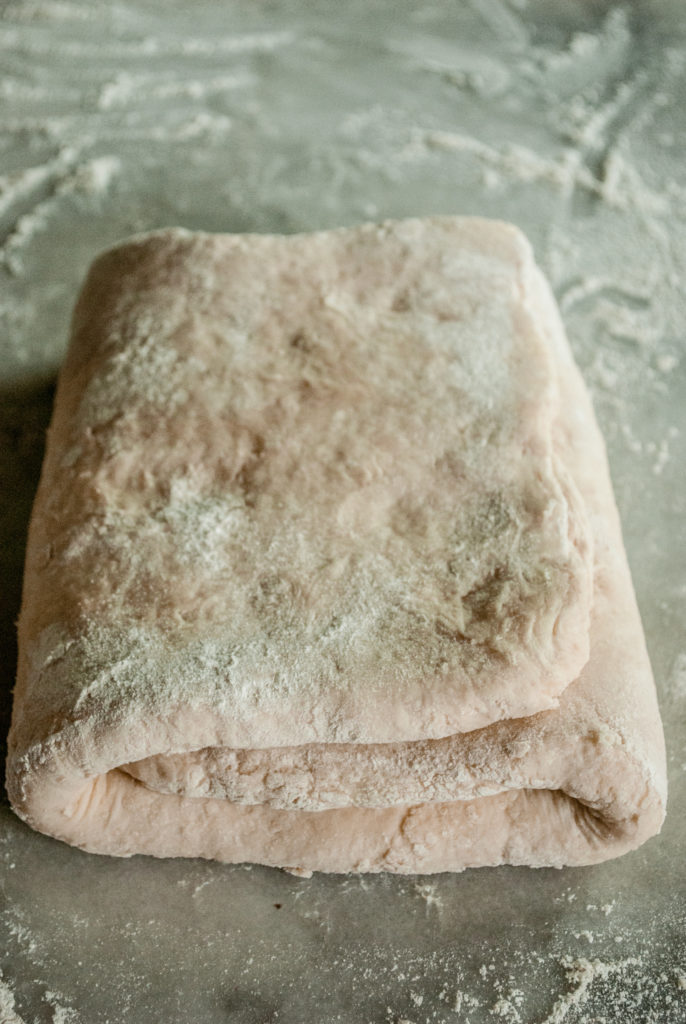
Fold it, fold it!
I shape my dough into a rectangle, roll it out until it is about 1/2 and inch thick, and fold it into thirds. I then repeat this as quickly as I can, and get it wrapped in plastic wrap and back into the fridge for another 20 minutes.

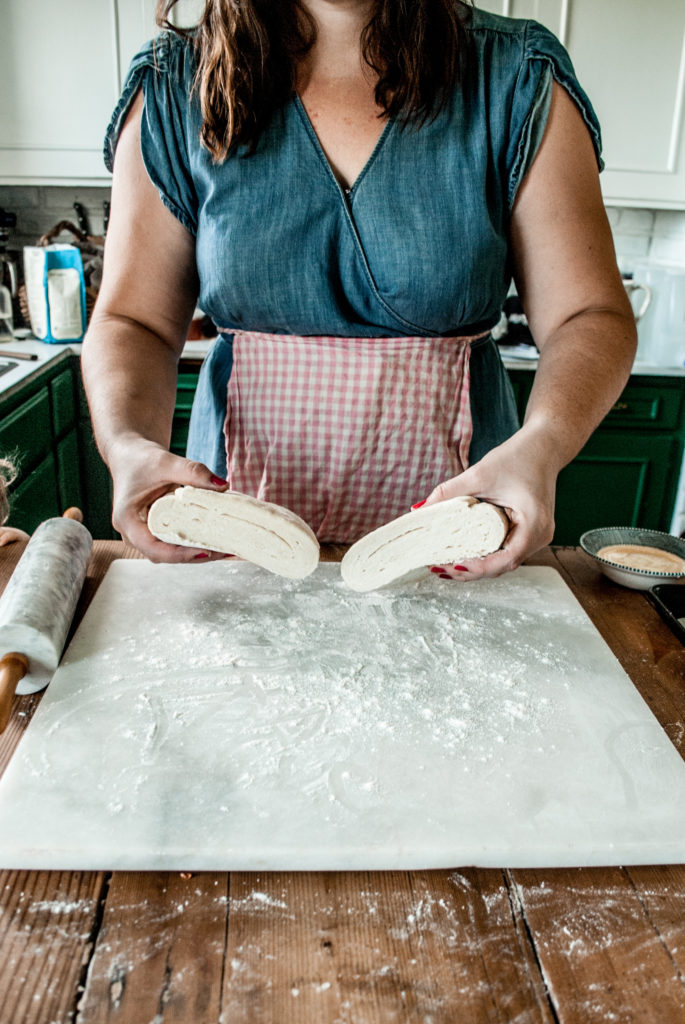
Resting the dough in the refrigerator is important for two reasons.
For one, it keeps the butter chilled (melted butter will result in a dense dough with no layers!) Protect that puff, baby!
Secondly, it gives the dough and chance to relax and become moldable again, and ready to be folded again.
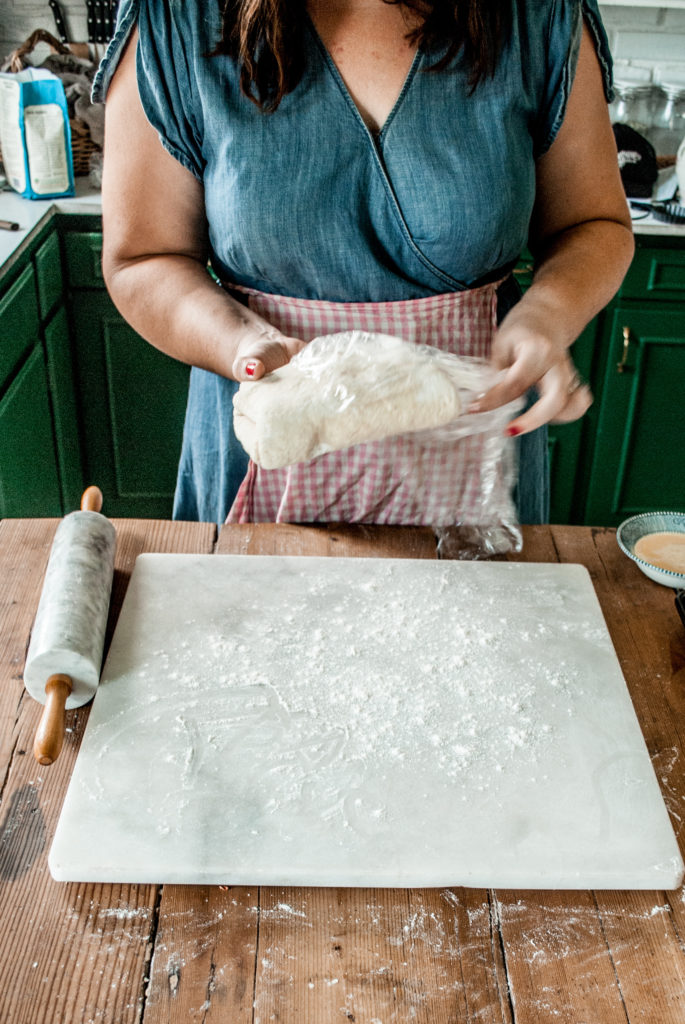
I roll and fold my dough again after 20 minutes in the fridge, then quickly put it back to rest before shaping the croissants. If time is a concern, it’s alright to skip this step, and though the dough may not have as many buttery layers, it will still be delicious!
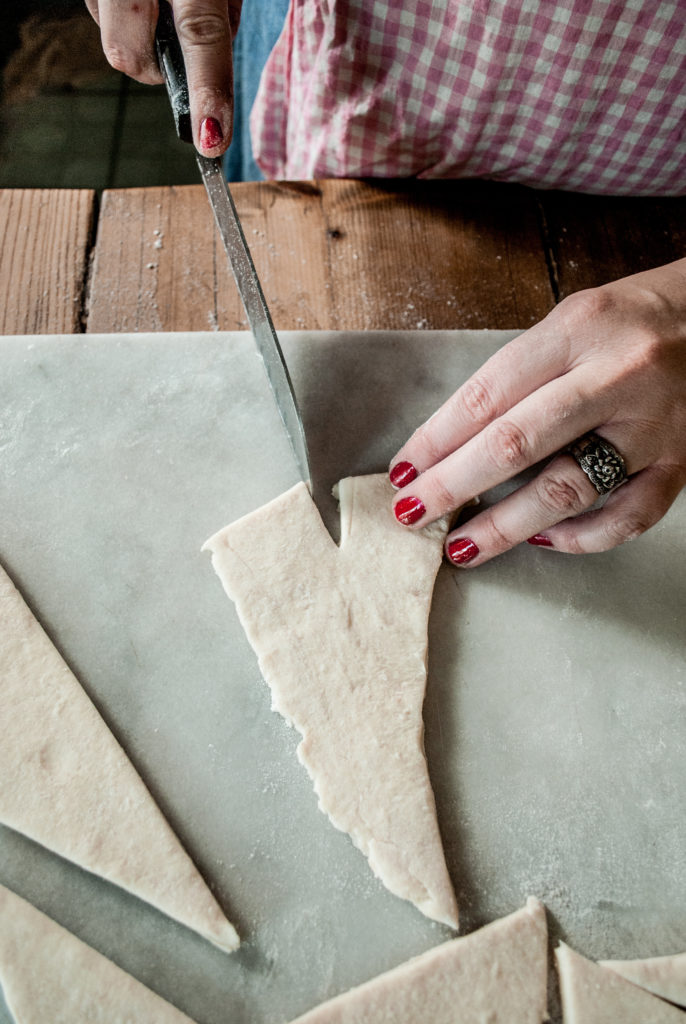
Cut, notch, and roll.


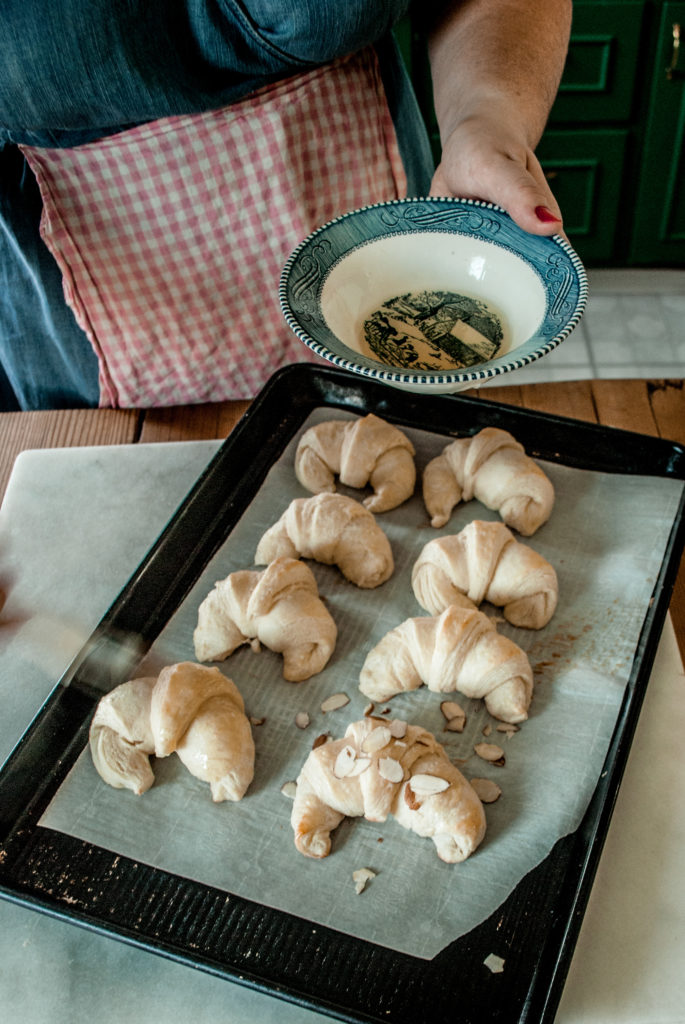
An egg wash (egg beaten with a tablespoon of water) will help the croissants develop a lovely brown finish. I brush the egg wash on with a pastry brush just before popping them into the oven!

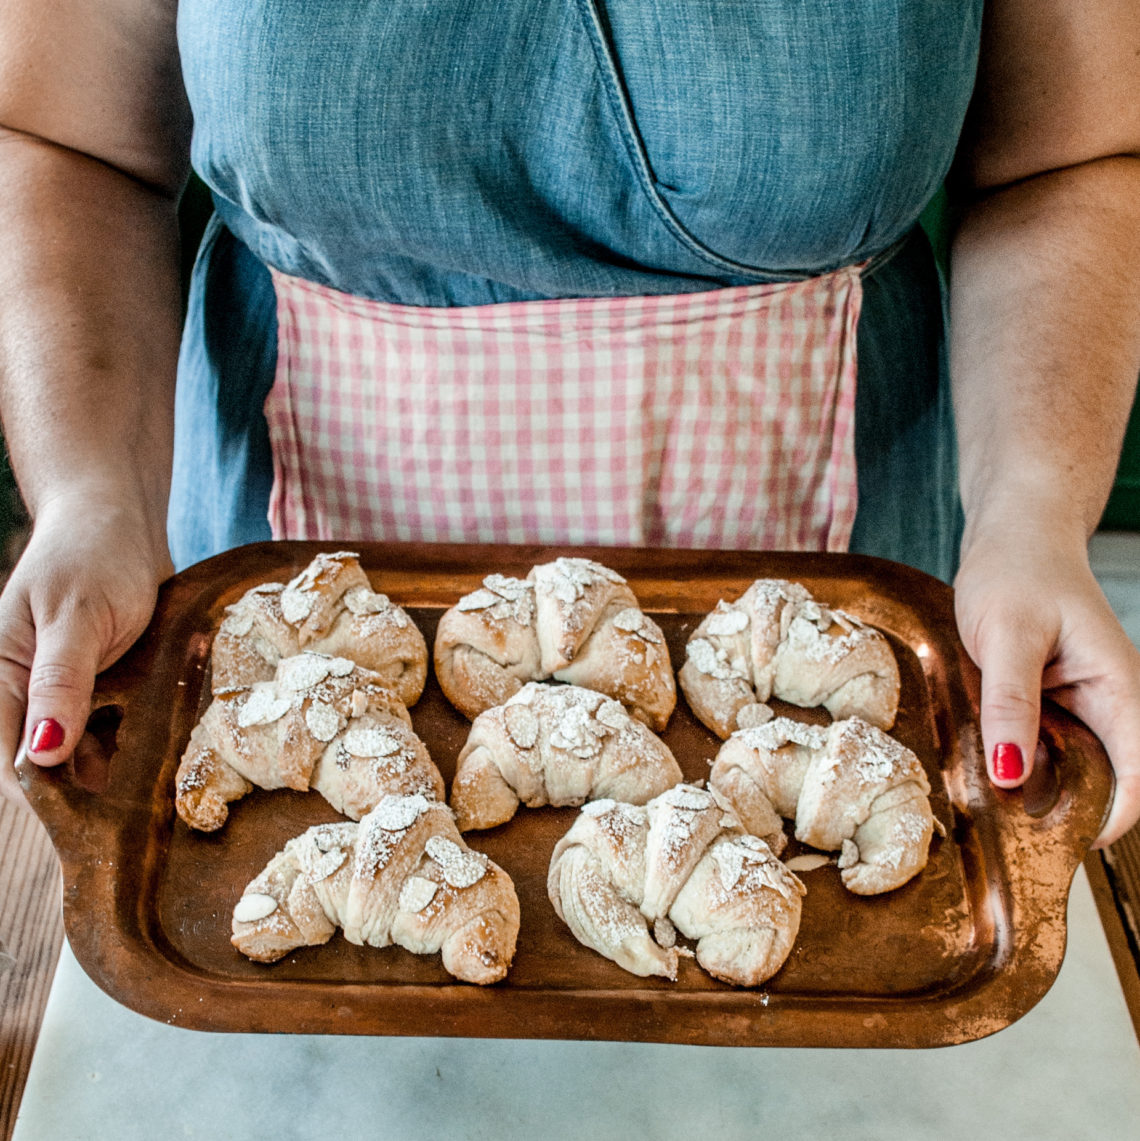
Just as the croissants are beginning to brown, I pull them out of the oven and brush them with a honey glaze (honey mixed with a bit of warm water.) This gives them a wonderful light sweetness on the crust, and helps the almonds to stick!
Then, I put them back in the oven to finish browning and to toast up the almonds, about 10 minutes or so.

A touch of powdered sugar dust on top is the perfect way to serve these treats! Use a light hand when dusting, it only takes a touch!

And that’s it! This is sooooo much easier than making croissants the “right” way. If you have a shortcut pastry recipe, share it! Have you ever made the real deal traditional croissants and how did they compare to the shortcut variety. Do tell us! Happy Baking!
Save this for later on Pinterest!


3 Comments
Sue
With all of the ingredients being cold, how does the yeast get activated?
Rhonda Goldfuss
Thank you for sharing this recipe and your printouts. This looks delicious!
Hailey
Hey! So I tried to make these, but when they got out into the oven, the butter (I presume) started spilling out everywhere and now there are puddles on my baking sheet with the crossiants, and idk if they are baking! What did I do wrong?